Why Fiber Optic Transceiver Cleaning Matters
Fiber optic transceivers are highly sensitive to contamination. Dust, oils, and other contaminants can degrade signal quality, leading to slower network speeds, data transmission errors, and even complete signal loss. Regularly cleaning fiber optic transceivers is essential to keep your network running smoothly and avoid unnecessary downtime.
Common Contaminants in Fiber Optics
Dust: The most common form of contamination, dust can obstruct the fiber’s light path and cause signal attenuation.
Oil and Fingerprints: Oils from hands or the environment can accumulate on the connectors, affecting transmission clarity.
Debris: Small particles can interfere with the fiber’s ability to transmit light, causing errors in data transmission.
By cleaning your fiber optic transceivers regularly, you prevent these contaminants from causing performance issues and ensure that your system operates at its full potential.

The Step-by-Step Process to Clean Fiber Optic Transceivers
Cleaning fiber optic transceivers is a simple process, but it requires careful attention to avoid damaging delicate components. Follow these easy-to-understand steps for a safe and effective cleaning process.
1. Remove the Transceiver
Start by carefully removing the fiber optic transceiver from the switch or router port. Ensure that you handle the transceiver gently and avoid applying excessive force, as this can damage the connectors or the port.
Tip: Always wear gloves to avoid transferring oils or dirt to the transceiver during removal.
2. Inspect the Transceiver
Before you begin cleaning, inspect the transceiver for any visible damage, such as cracks or bent pins. This is an important step, as it ensures you’re not cleaning a damaged component that could cause further issues.
Tip: If the transceiver appears physically damaged, it may need to be replaced rather than cleaned.
3. Insert the Fiber Optic Cleaner
Next, use the appropriate fiber optic cleaning tool, such as a cleaning stick, swab, or dry cleaning wipe. Insert the cleaner gently into the transceiver’s connector and make sure the cleaning tool makes contact with the fiber end face.
Tip: Use high-quality fiber optic cleaning products to avoid damaging the delicate optical surfaces.
4. Press the Cleaner to Remove Contaminants
Apply gentle pressure to the cleaner to remove any dust, oil, or debris. It’s important to be careful not to press too hard, as excessive force could damage the fiber optic connectors. Clean the end face thoroughly but gently.
Tip: When cleaning, be sure to use a dry cleaner to prevent leaving any moisture or residue that could impact signal quality.
5. Reinsert the Clean Transceiver
Once cleaned, carefully reinsert the transceiver into its original port, ensuring it fits securely. Check the connection to make sure the transceiver is properly seated and that the connection is firm.
Best Practices for Fiber Optic Transceiver Maintenance
To ensure the long-term health of your fiber optic network, it’s important to follow some best practices when cleaning and maintaining your transceivers.
Establish a Cleaning Schedule: Regular maintenance is key. Depending on environmental conditions, such as dust levels, you may need to clean your transceivers every 3 to 6 months. In more contaminated environments, monthly cleaning may be necessary.
Use High-Quality Cleaning Tools: Invest in professional-grade fiber optic cleaning tools to ensure effective and safe cleaning.
Store Transceivers Properly: When not in use, store fiber optic transceivers in a clean, dust-free environment to prevent contamination.
Tip: Always use tools designed specifically for cleaning fiber optic connectors. Using the wrong tools or abrasive materials can cause irreversible damage.
Common Mistakes to Avoid When Cleaning Fiber Optic Transceivers
While cleaning fiber optic transceivers is simple, there are common mistakes to avoid to ensure effective maintenance and prevent damage:
Over-Cleaning: Excessive cleaning can wear down the connectors, so it’s important to clean only when necessary. Over-cleaning may result in the degradation of the connector’s surface.
Using Harsh Chemicals or Abrasive Materials: Never use chemicals that are not designed for fiber optics or abrasive materials that could scratch or damage the connectors.
Improper Handling: Rough handling of fiber optic transceivers or connectors can lead to physical damage that impairs functionality. Always handle components carefully.
Conclusion: Keep Your Fiber Optic Network Running Smoothly
Regular cleaning of fiber optic transceivers is crucial to maintaining optimal performance and preventing network disruptions. By following the steps outlined in this guide, you can ensure your transceivers are free from contaminants and functioning at their best.
Investing in high-quality fiber optic cleaning tools and following a regular maintenance schedule will not only help you maintain your network but will also extend the lifespan of your transceivers, saving you time and money in the long run.
If you’re looking to enhance the reliability of your network, consider adopting a fiber optic cleaning routine and ensuring your transceivers are always in top condition. For more tips and cleaning solutions, Please pay attention to Fibrecross‘s news knowledge..
What Is the Lifespan of an Optical Transceiver?
Learn the typical lifespan of optical transceiver modules like SFP+, QSFP+, QSFP28, QSFP-DD, OSFP. Discover factors that affect durability, signs of failure.
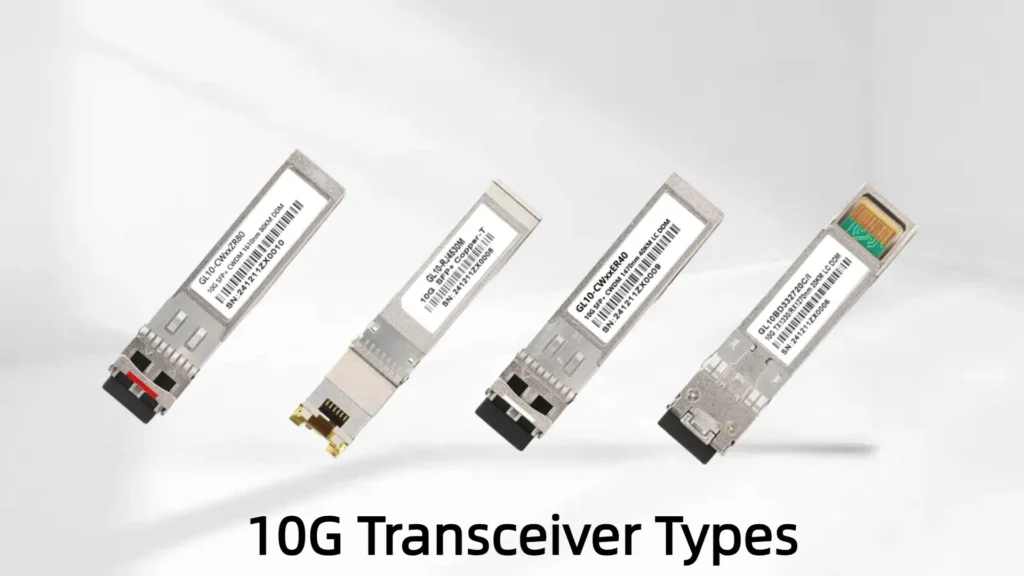
10G Transceivers: Types, Distances & Buying Guide
Learn the real-world differences between 10G transceiver types (SFP+ SR/LR/ER/ZR, copper/DAC/10GBASE-T), distances, use cases and buying tips.
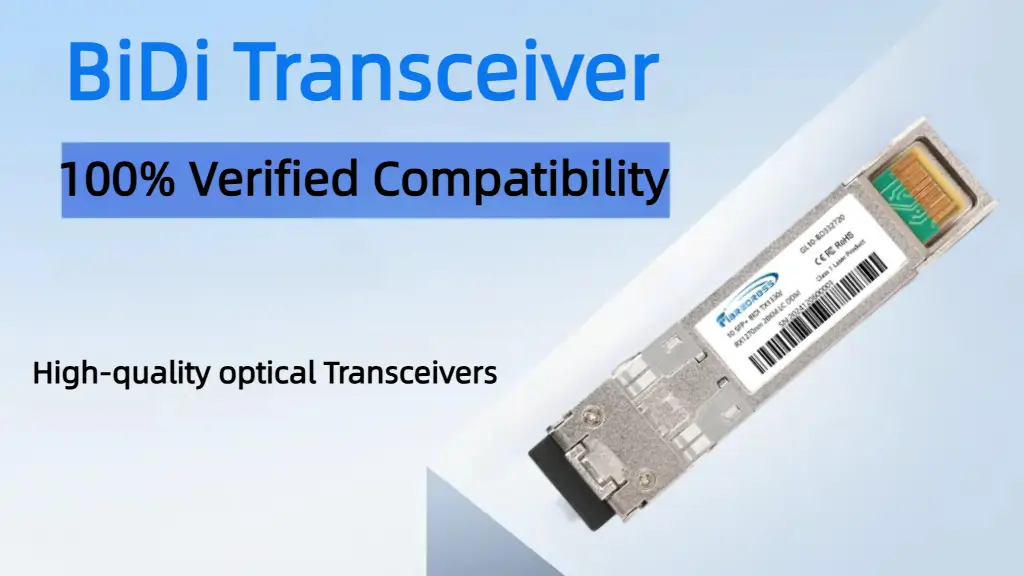
What Is a BiDi Transceiver?
Discover what a BiDi transceiver is, how BiDi optical transceivers work, and why 800G BiDi is shaping the future of data center networking.

OEM vs. Third-Party Optical Transceivers: Which to Choose?
Make an informed choice between OEM and compatible optical transceivers. Practical guidance for IT managers on reliability, vendor support.

How Big Is the 800G Optical Transceiver Market in 2025?
The 2025 global 800G optical transceiver market size, key growth drivers, top players, and forecasts for this fast-growing multi-billion-dollar industry.

Inside the Structure of Active Optical Cables
Learn what makes active optical cables reliable: transceivers, diagnostics, fiber protection and installation tips. AOC cable overview for engineers.